This is the third tutorial about drawing text with GBDK. In the first tutorial, we learned the basics of drawing tiles onto the background/window. In the second tutorial, we optimized the tile usage and added more advanced features. In this tutorial, we’ll use Toxa’s VWF (Variable Width Font) library to draw text. The library does all of the work for us, so we wont be building on the previous two tutorials.
Why should i use this library?
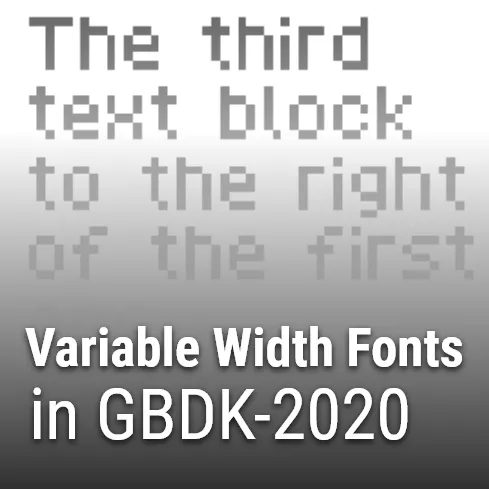
The primary highlight in using Toxa’s library, lies in it’s name. Variable width font. The common method involves using a single tile per character. This works fine, but drawing a single character per tile wastes space. Both on the background/window, and in VRAM. With toxa’s library, we can dynamically render each letter. Most characters are between 3 and 5 characters wide. Leaving an extra 5 and 3 pixels of extra space in a single tile. That also mean, between two tiles there could be 6-10 pixels of space.
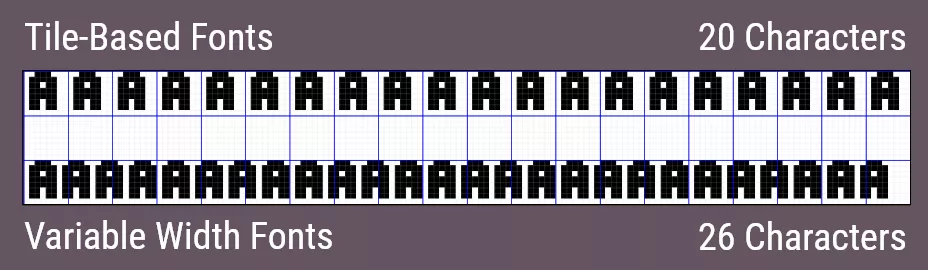
With the variable width font library, all letters are minimally spaced 1px apart. This also means you may have multiple characters on a single tile. The maximum number of characters per line changes from 20, to over 36 (if we were rendering only characters that are 3 pixels wide or less.)
What are the prerequisites?
Fortunately, Toxa has done a lot of the work for us. The only pre-requisites are:
- The library itself, which comes with some fonts built-in
- Knowledge of C and GBDK
If you need help with GBDK, see my other Game Boy Tutorials.
How to Get the library?
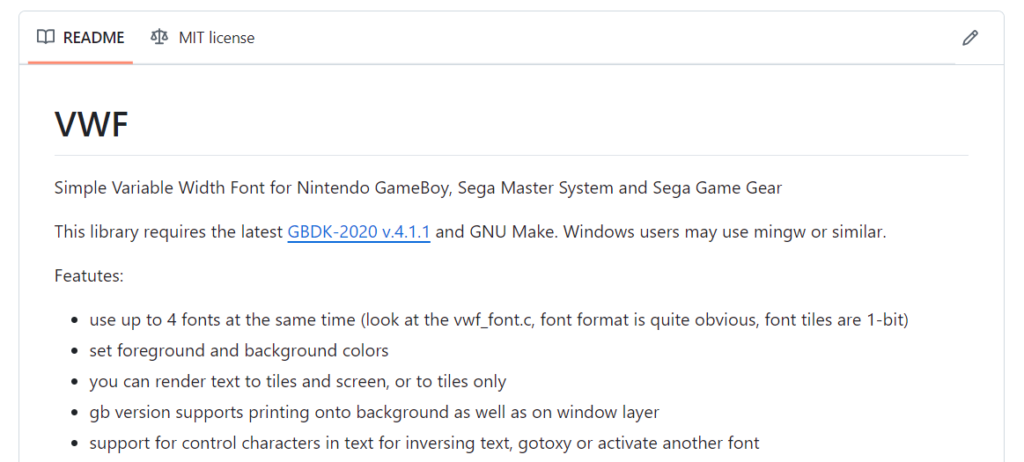
The library is available for free, no sign-ups, or credit cards needed. You can find the library on GitHub: https://github.com/untoxa/VWF
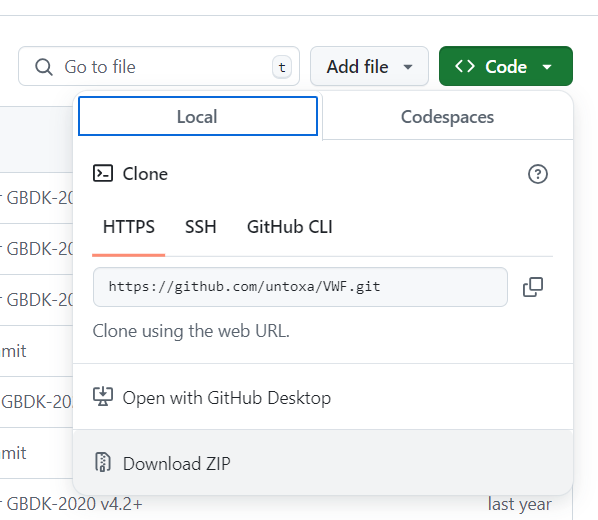
Once on github, you can Download a Zip of the project, by clicking the “code” button:
Adding the library to our project
With the repo downloaded & unzipped, their are two main parts you’ll need:
- The .h files inside of the “include” folder.
- Some of the .c and .s (assembly) files in the “src” folder:
- vwf.c
- vwf_font.c
- vwf_font_bold.c
- vwf_font_ru.c
- sm83/vwf_a.s
Note: The ‘main.c’ that comes with the library is just for demoing purposes.
You can add the .c and .s files directly to your project, somewhere your compilation script can find them. As for the header files, you will reference these in your .c files. Make sure they are in a folder that ‘lcc’ can find when compiling your game. You can include them using the ‘-I’ argument for lcc.
Learn more about the GBDK compiler, lcc, here: GBDK Toolchain – lcc.
here’s an example. In this example your game’s source code is in a ‘src/main’ folder. Also you’ve extracted the VWF library’s src folder to your ‘src/vwf’ folder locally.
/path/to/gbdk/bin/lcc.exe -Ivwf/include -c -o MyGameBoyGame.gb src/main/main.c vwf/src/vwf.c vwf/src/vwf_font.c vwf/src/vwf_font_bold.c vwf/src/vwf_font_ru.c vwf/src/sm83/vwf_a.sThe above is an example, if you’re using the minimal or subfolders template (provided with GBDK), the makefile will automatically scan for your .c and .s files.
If you’re using VS Code, you’ll want to add the VWF include folder to the includePath preference for the c/c++ extension. More info about that here: Setting up Visual Studio Code for making Game Boy Games.
Drawing Variable Width Fonts
Now that the library has been included in our project, let’s start drawing with the library.
Loading our fonts
First, in our own main.c file, we’ll need to include the library and the font’s it ships with:
#include "vwf.h"
#include "vwf_font.h"
#include "vwf_font_bold.h"
#include "vwf_font_ru.h"
If your code is properly configured, you can load the fonts at game time using the following snippet:
vwf_load_font(0, vwf_font, BANK(vwf_font));
vwf_load_font(1, vwf_font_bold, BANK(vwf_font_bold));
vwf_load_font(2, font_ru, BANK(font_ru));
Activating our default font
We’ve loaded three fonts into the system, we can choose our default font using the ‘vwf_activate_font’ function:
vwf_activate_font(0);This sets font 0 as our default font to draw with. This can be changed later. You can also change the font, mid-render.
Choosing a render destination
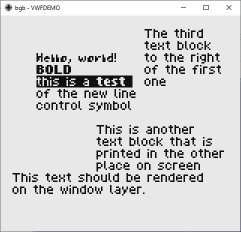
Some games may want the HUD to appear on the game boy’s background layer. Some games may want the opposite. The game’s HUD is shown on the game boy’s window layer. Using the ‘vwf_set_destination‘ function, you can pass it one of the two values:
- VWF_RENDER_BKG – This means draw on the background
- VWF_RENDER_WIN – This means draw on the window.
Here’s an example on using the function:
// Render our variable width font on the background layer
vwf_set_destination(VWF_RENDER_BKG);
Drawing Text
With all that done, we can draw text using VWF’s ‘vwf_draw_text‘ function. It takes the following arguments:
- uint8_t x – The starting Column
- uint8_t y – The starting Row
- uint8_t base_tile – Where in VRAM to start placing tile data
- const unsigned char* str – The String we want to render
Reminder: The x & y parameters are in tiles, not pixels
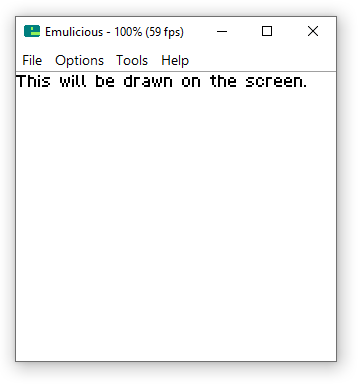
vwf_draw_text(0, 0, 1, "This will be drawn on the screen.");The string “This will be drawn on the screen.” is 33 characters long. If we used tile-based fonts, We would not be able to fit this string on a single row.
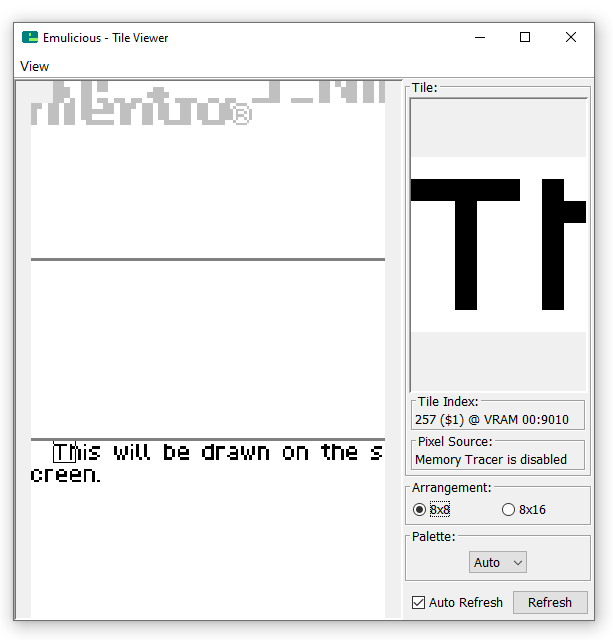
If you open up your emulator’s tile viewer, you can see the thirst two letters are drawn on one single tile. There are even cases where parts of 3 different letters being on a single tile.
If you add new line characters, it will restart on the next row also
vwf_draw_text(0, 0, 1, "This will be drawn on the screen.\nThis is a new line.");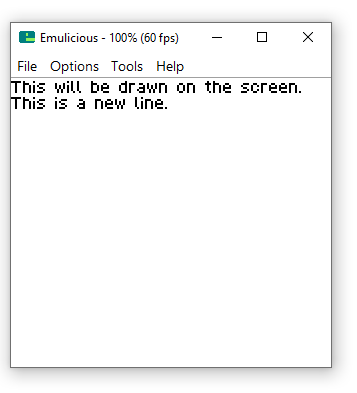
Easily Changing fonts mid-render
The library comes with 3 font’s built-in. It supports a maximum of 4. you can change font’s in real time using ‘\x01’ and then the font index (in the same escaped format)
- \x01\x00 to change to font 0
- \x01\x01 to change to font 1
- \x01\x02 to change to font 2
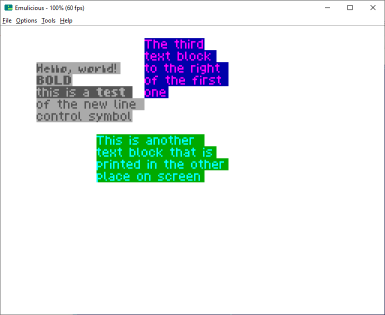
In the below example, we’ll change to font 1 for drawing “on the screen”. Then we’ll change back to font 0.
vwf_draw_text(0, 0, 1, "This will be drawn \x01\x01on the screen.\x01\x00\nWe'll change part to be bold.");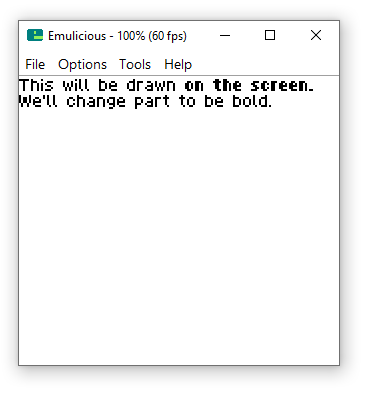
Easily chaining multiple calls
The second parameter ‘base_tile‘ is where in VRAM we want to draw the text. Make sure you don’t override any other things you have in VRAM. Toxa has also given us a function to simplify chaining requests: ‘vwf_next_tile()’
This function will return the next tile to draw on. You can use it, to avoid complicated math.
 vwf_draw_text(0, 0, 1, "This will be drawn on the screen.\nThis is a new line.");
 vwf_draw_text(0, 2, vwf_next_tile(), "The tiles for this line\n will be immediately after\n the first line.");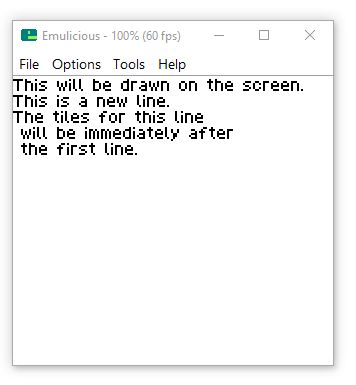
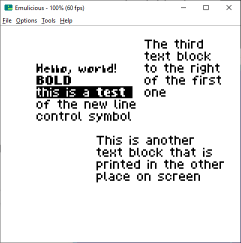
Typewriter support
You can very easily add typewrite support. All we need to do is add “vsync”s at the end of the whilie loop inside of the “vwf_draw_text” function (in vwf.c).
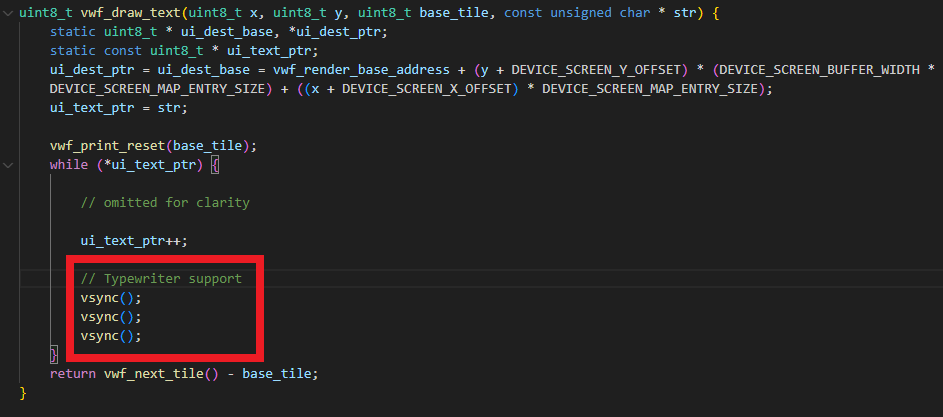
Here’s the result: