Backgrounds in the Butano Game Engine, like Sprites, must be added to your project as bitmap images. You can view the basics of the Butano project structure here: Butano Project Structure for Making GBA games. The width and height of your background must both be multiple’s of 256px. With limit being above 4096×4096.
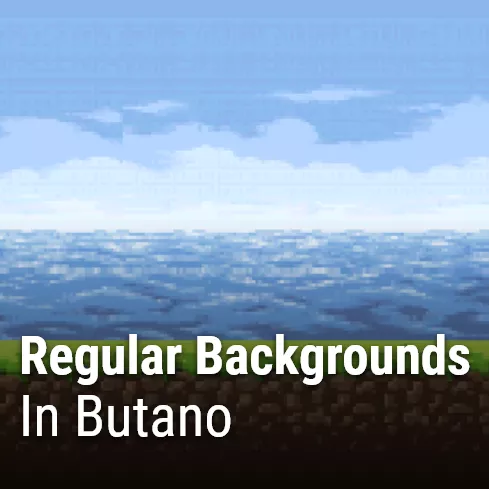
With your bitmap created, and added to the “graphics” folder, you should create a matching .json file. There are multiple types of assets in the Butano Game Engine, as you can see here: Butano Docs – Importing Assets. For this tutorial, we’ll be using a regular background. Here’s a basic background i found online, and edited slightly in Aseprite. It’s 256x156px in size.

I’ll name it clouds.bmp, and create a matching clouds.json.
Important Note: All graphics (sprites and backgrounds) must have all lowercase names. Also if you see an error, like “oceanbackground.bmp error: Invalid bits per pixel: 24” make sure you are exporting with an indexed palette.
{
  "type":"regular_bg"
}
Including your regular background in your code
After you run your project’s ‘make’ command, you’ll have a new bn_regular_bg_items_clouds.h file (in your project’s “build” folder). Include that, and the “bn::regular_bg_ptr” class into your main.cpp file:
#include Creating a background Pointer
Important Reminder: This should be done AFTER your call to “bn::core::init()“
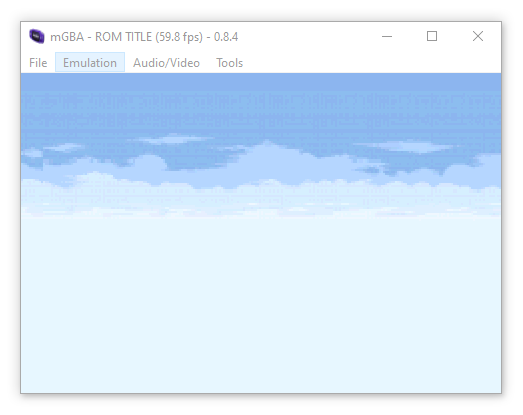
bn::regular_bg_ptr clouds = bn::regular_bg_items::clouds.create_bg();Once you recompile and run your ROM file, you should have a basic background:
Background translation
Like with sprites, we can move the background around on the x or y axis. It’s graphics will loop around as your scroll. However, with regular backgrounds, we cannot scale or rotate them.
bn::regular_bg_ptr clouds = bn::regular_bg_items::clouds.create_bg();

while(true)
{
    bn::core::update();

    clouds.set_x(clouds.x()+bn::fixed(.2));
}
once compiled, you would see your background moving to the right, like so:
Multiple Backgrounds
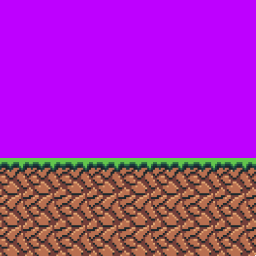
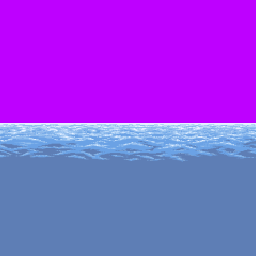
The Game Boy Advance supports a total of 4 different backgrounds. Each can be individually controlled. Transparency is also supported on each background, allowing for very cool layer effects. Let’s add two more backgrounds on top! The other half of the previous ocean background, and a ground background,. Below i have “ground.bmp“ and “water.bmp“.
Note: The purple is the first color in the palette, and will be transparent.
I’ll need to create a matching “ground.json” and “water.json” file. Both of which, are the same:
{
    "type":"regular_bg"
}
We’ll include them create pointers, and move them to the right also (but at different speeds).
#include "bn_core.h"
#include The result is a layered parallax scroll effect:
By default, they are drawn in the order you create the pointers. You can change which order they are rendered using the “bn::regular_bg_ptr::set_z_order(int)” function.
Removing Backgrounds
Like with sprites, backgrounds will automatically remove themselves when they go out of scope. Alternatively, you can use “bn::optional“s or hold the pointers in a bn::vector.
#include Conclusion
That’s the basics of drawing backgrounds. for the sake of clarity the graphics were all separate bitmaps. But you could have them all defined a single bitmap, and use the “height” property to let Butano know how to split them.
Be sure to check out the tutorial on drawing sprites to add objects to your world.