Firstly, like all Butano features, you’ll need to include the proper header file. For input, you’ll really only need to include
#include <bn_keypad.h>After that, all of the functions you need are in the “bn::keypad” namespace. You can find the documentation for this namespace here: Butano Docs – bn::keypad namespace.
Easy Keypad Functions in Butano
Butano has easy functions for common button operations:
- bn::keypad::<button>_pressed
- bn::keypad::<button>_released
- bn::keypad::<button>_held
Where <button> is one of these values:
- up
- down
- left
- right
- start
- select
- a
- b
- l
- r
Here are some Examples:
if(bn::keypad::a_pressed())DoSomething();
if(bn::keypad::b_pressed())DoSomething();
if(bn::keypad::start_released())DoSomething();
if(bn::keypad::select_released())DoSomething();
if(bn::keypad::left_held())DoSomething();
if(bn::keypad::right_held())DoSomething();
Butano also has three easy catch-all functions:
if(bn::keypad::any_pressed())DoSomething();
if(bn::keypad::any_released())DoSomething();
if(bn::keypad::any_held())DoSomething();
Parametrized Keypad functions
In addition to those easy functions, you can use the “bn::keypad::key_type” enumeration as an argument for parametrized versions of the above functionality:
if(bn::keypad::held(bn::keypad::key_type::LEFT))DoSomething();
if(bn::keypad::pressed(bn::keypad::key_type::A))DoSomething();
if(bn::keypad::released(bn::keypad::key_type::B))DoSomething();
Here Are the full values for the “bn::keypad::key_type” enumeration:
- bn::keypad::key_type::LEFT
- bn::keypad::key_type::RIGHT
- bn::keypad::key_type::DOWN
- bn::keypad::key_type::UP
- bn::keypad::key_type::A
- bn::keypad::key_type::B
- bn::keypad::key_type::R
- bn::keypad::key_type::L
- bn::keypad::key_type::START
- bn::keypad::key_type::SELECT
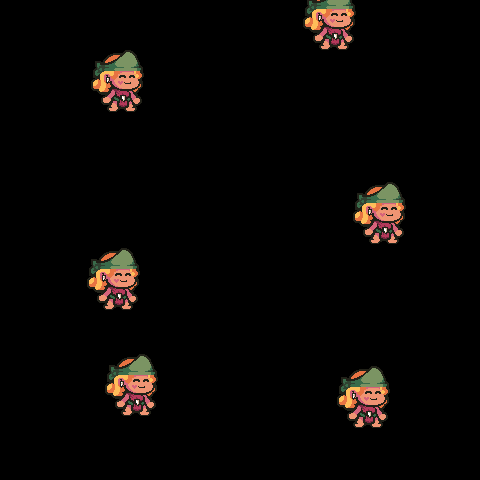
Here’s an example of controlling a sprite. If you dont know how to use sprites in butano, see my tutorial here: Drawing sprites on the Game Boy Advance. We’ll use the directional buttons to move the sprites position.
#include <bn_core.h>
#include <bn_keypad.h>
#include <bn_sprite_ptr.h>
#include "bn_sprite_items_testplayer.h"

int main()
{
    bn::core::init();

    // Create a basic sprite in the center of the screen
    bn::sprite_ptr playersprite = bn::sprite_items::testplayer.create_sprite(0,0);


    // When this part of the code is reached, the clouds background has gone out of scope and will be removed
    while(true)
    {
        bn::core::update();

        if(bn::keypad::left_held()){

            // Decease the x position to move it to the left
            playersprite.set_x(playersprite.x()-bn::fixed(2));

        }else if(bn::keypad::right_held()){

            // Increase the x position to move it to the right
            playersprite.set_x(playersprite.x()+bn::fixed(2));
        }


        if(bn::keypad::up_held()){

            // Decrease the y  position to move it upwards
            playersprite.set_y(playersprite.y()-bn::fixed(2));
        }else if(bn::keypad::down_held()){

            // Increase the y  position to move it downwards
            playersprite.set_y(playersprite.y()+bn::fixed(2));
        }

    }
}
The end result is this:

That’s everything you need to know about keypad input. if you want to see more documentation, check out:
- Butano Docs – bn::keypad namespace
- Butano Docs – bn::keypad::key_type enumeration
- Butano Keypad Example (included in your Butano installation)


